The cost of paying a professional to do this can be steep. I found that it was almost equal to the cost of materials. So if you decide to do this yourself you could cut your costs in half. Go For It!
The wood used here is Home Depot Direct, Brazilian Cherry, engineered wood. I don't think it's made anymore, but most of these engineered hardwood floors are similar and the process of installation is the same. Also, this floor is glued down. Not nailed. Our wood floor was installed onto a concrete foundation.
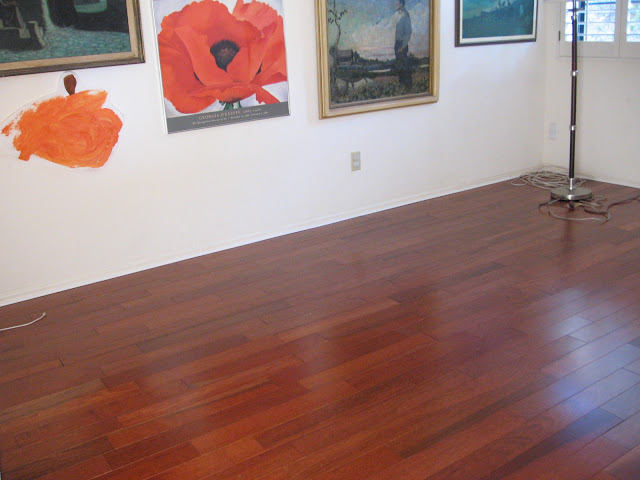
The completed floor. Brazilian Cherry.
Our house was mostly saltillo tile with carpet in the bedrooms and den. We installed wood in those three rooms and these pictures will jump between those rooms to show the steps. Confused??? Me too! Okay... don't pay attention to the room-just the floor-because I'm skipping from room to room to show the different steps.
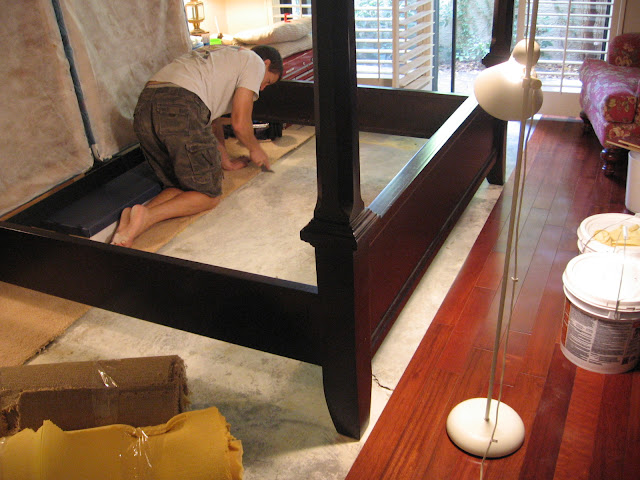
The first step involves cleaning the floor. We removed the old carpet, its padding, and any of the glue that held the padding in place. You want the wood floor adhesive to be in direct contact with the cement foundation. We had white paint spray all over the floors from when the house was built. We went over it with a scraper and a wet rag.
Here you can see some of the floor getting prepped and because we were still sleeping in this room, we worked in sections and moved around the giant bed. We did not remove the baseboards or add cherry wood trim to the edges. I'll show you how we dealt with that further down in this post.
Figure out which direction you want the wood floor to run and then start along a wall. Most room walls are not perfectly straight-we used a perfect 2X4 (seen above) as a straight edge/guide and would check that a row was staying straight as we went (every few rows). Make sure the pieces are fitting tightly together. You may need to use a rubber mallet, or a block of wood, to tap (lightly) pieces tight. It is important to keep a small space between the wood flooring and the edges of the room (baseboards/walls) because the wood floor will expand and contract with the weather. You can see the blue spacers running along the baseboard in the picture above. We used a circular saw to cut the wood flooring when needed.
This is the wood floor adhesive we used. It was from Home Depot. There are instructions written on the bucket. Depending on the climate in your area, the glue dries fairly fast. We are in a dry climate, Arizona, and found that it was best to only apply about 30 working minutes worth of glue at a time. Apply in in a neat line to match your rows.
Apply adhesive to floor with a notched trowel. ** TIP** We found it was best to always place the wood so that the tongue (tongue&groove) end was facing in, towards the room.
Reject pieces (there will be some) were marked up with pencil. This piece has many surface cracks.
Because of the slight inconsistency in the colors of the wood planks and the different lengths, we went through the planks first and set them down (without glue!) on the floor to make sure that the different shades of cherry and the different lengths of the planks would be evenly spread throughout the room. The planks on the right side are the dry run and the planks on the left are glued.
Instead of covering the small gap at the edges with matching cherry wood trim I decided add a piece of trim that would look like a piece of detail from the original baseboards. It was a lot cheaper than the matching pieces of wood trim and I prefer this look.
Corner detail.
At the edge where the wood floor meets the tile (the doorways) I went AGAINST instructions, and recommendations, and put the wood almost right up against the tile. I didn't want to use a piece of pesky trim. So far so good...
Diagonal cut along the tile.
Some before and afters:
Before
After
Before
After
Instead of covering the small gap at the edges with matching cherry wood trim I decided add a piece of trim that would look like a piece of detail from the original baseboards. It was a lot cheaper than the matching pieces of wood trim and I prefer this look.
Diagonal cut along the tile.
Some before and afters:
Before
After
Before
After


