Thursday, December 8, 2011

O Tannenbaum


I am a huge fan of  "real" Christmas trees, potted OR cut. But two years ago I switched to fake. I had a idyllic hope of having the same live potted tree being brought in the house every holiday season and becoming a member of the family. After losing 3 potted trees in a row I gave up on that idea and went back to cut trees. I think our last cut tree made it a week before it was brittle and it smelled nice for only a day. Maybe it's too warm here in Arizona or the cut trees are sitting out too long, but we went fake and I'm not looking back. I still love the look of a tree in a pot, so I potted my fake tree. If it's night and you've had a few yummy holiday cocktails, you might think it's real! And I'll tell you that it is real, because I am super classy and I don't do fake!

Before I show you the ugly details, here she is all made up:


 To hold the tree solidly in the pot, I use dumbbells and a small umbrella stand.


The dumbbells go in first, stacked on top of each other. Then I turn the umbrella stand upside-down and rest it on the sides of the pot.


 The tree base fits through the umbrella stand and the pointed tip of the tree base rests in the center hole of the top dumbbell, preventing the tree from tilting. I use two dumbbells (vs. one) for the weight. Otherwise the whole thing would tip over.


Tuesday, December 6, 2011

Holiday Mantel

My simple mantel. Almost everything is DIY from stuff around the house.


a christmas mantel


holiday mantel decor


The stars are made out of paper grocery store bags. I have a tutorial here. They are so fun and easy to make. The reindeer head I made out of a gift box (here) and the wreath is olive tree branches. Happy holiday decorating and crafting!


Monday, December 5, 2011

A Reindeer Head


* link to directions for the paper stars at bottom of this post *


I saw this project  tutorial in a book called, Dorm Decor and I think it's my favorite holiday decoration this year!! I started out trying cardboard (the book uses foam core), but I didn't like it so I changed to cutting up a  gift box that I thought had a really pretty texture (white deer) and a plain gift box that I glued wrapping paper onto (colored deer). The gift box is so easy to cut, and it's strong enough to support itself. I'm using them for holiday decor, but I like them so much they may stay around for a while. If you're up to having a deer in your house for the holidays, there is a template here from Chronicle Books. ** If your using Safari browser these six links may work better for printing. 1 2 3 4 5 6.


paper deer head, paper reindeer head template, reindeer template


DIY paper reindeer head

This deer was inspired by a French Bull plate that I glue gunned his head to. I've got him by the front door and I'm embarrassed to admit how happy his colorful face makes me when I see him!?!


Very fancy and dashing with a tie.


I made a simple white one for the mantel. The more serious brother.


paper deer head


DIY paper reindeer head christmas decoration


This is how he looks before you put him together. The first cardboard template I tried:


Cutting the wrapping paper out using the gift box template. This box was about the thickness of a cereal box. So if you have a big enough cereal box, or poster board, that would work great too! Just change the SLIT cutout (make it thinner) to adapt to your material.


 paper reindeer head tutorial, reindeer antler template, christmas crafts

I have instructions for the paper stars here

ENJOY!

Tuesday, November 29, 2011

Winter Star


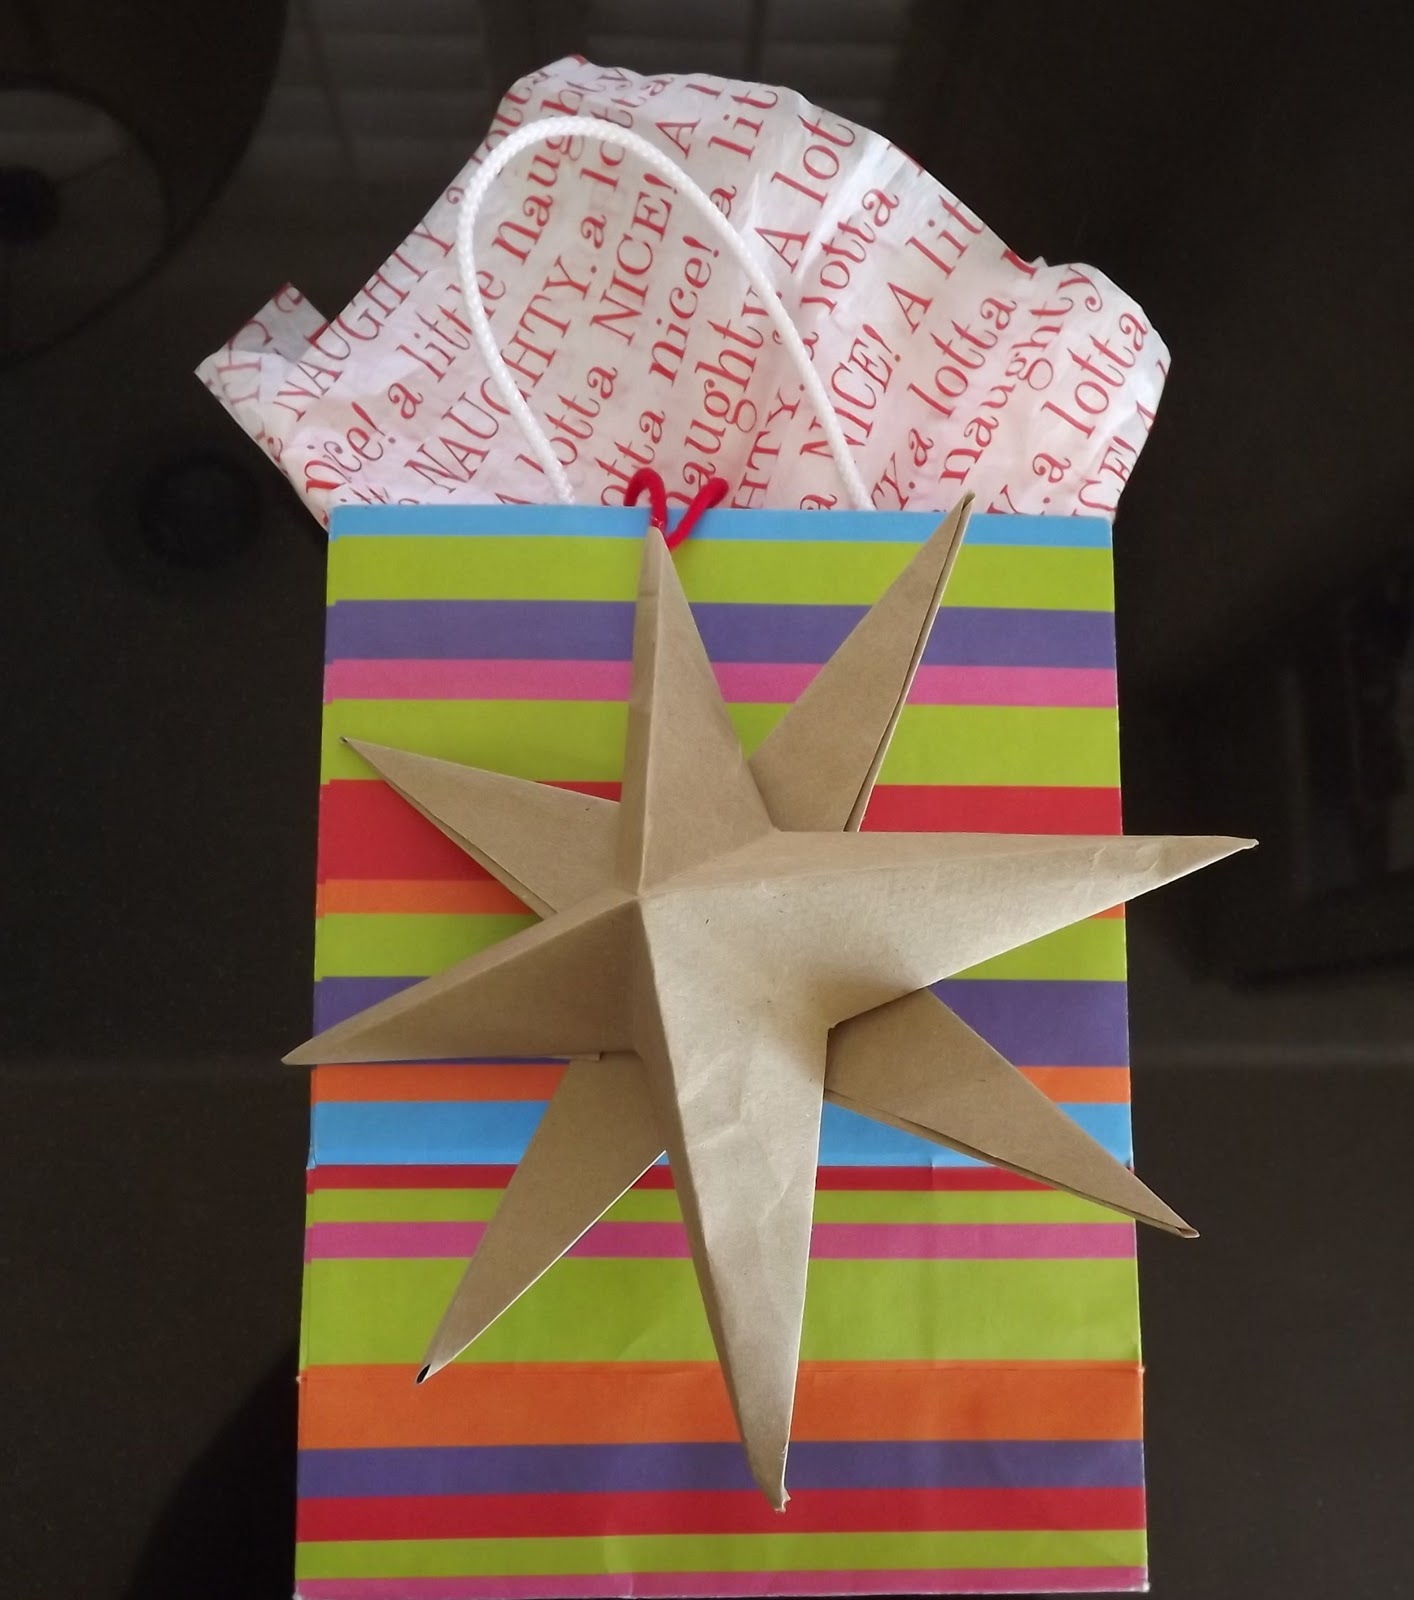
 This is a really fun and easy craft with endless possibilities. Here's a few ideas and the steps to make this star. This one I made out of a paper grocery bag:


origami winter star, paper star,paper crafts, how to fold a paper star


2" square paper attached to a pin  inserted into the cork.


paper winter star, how to make a paper star
Attach to gifts.


origami stars
My 7 year old loved these and we hung them over his bottom bunk.


folded origami paper star garland
String them together to make a garland.


paper starI
Tree ornament....

This seems like a lot of steps, but I tend to overdo instructions. This will be quick and painless, if you decide to give it a go.
Here I'm using a scrap piece of 8x10 paper. I folded it in half and the cut along the fold.

The paper for the star needs to be SQUARE. To get a square form a rectangle you just need to: 1. fold a triangle. 2. Cut off paper left under the fold. 3. There. A square!

You already folded a triangle in the step above, with your paper open fold a triangle using the other two corners. Open paper and fold up and in half. Open paper and fold to the side in half.

Your square should have creases like the ones above. Now, following the dotted lines from the picture on the left, cut along the creases almost halfway to the center of the square. With the bad side of the paper facing up, fold the corners into points with the inside edges of the points lining up with the diagonal creases. They do not overlap.They meet.

The paper should still lie flat after all the corners are folded. Use a glue stick to add glue to the top of only one side of the point then place the other half of the point on top of the glue and press. It helps to have a finger inside the point.

Here is how it looks with all points glued. From the bottom and top. If you want to add ribbon or string them together, this is the time to add that. Place the string or ribbon into the point before you glue it closed.

Fix any of the creases so they are straight and then use a glue gun to glue the backs of the stars together. They barely touch each other in the back, so you might need a few big globs of glue to get them to stick. And....That's It!!! You're Finished! You Made It!!

Now you have a beautiful winter star. I think a patterned or striped paper would look really pretty. Or gold, silver, glitter, painted.........
The possibilities are endless! Have fun and Happy Winter!!

Friday, November 25, 2011

A Handmade Mini Wreath


I'm not a big Christmas knickknack collector, but I ALWAYS love a wreath and these are easy and free! I started out making these for some lanterns I have outside and ended up putting them on the kitchen cabinets.


 I used leaves from four different plants: Olive branches, Rosemary branches, Indian Laurel leaves, and African Sumac leaves.
After you have your leaves or branches, all you need are some wires (I salvaged mine from the impossible packaging that kids' toys come in), dollar store suction hooks, ( you could use the mini Command hooks, I've seen them at the dollar stores too), and a glue gun which isn't necessary. I just used it cause it makes me feel CRAFTY!


For the wreaths where I threaded the leaves, I used a wire about a foot long and just threaded it until it was almost full. Then hooked the ends of the wire together and tied a bow over the hook. For the Olive Tree and Rosemary branches, I cut a branch about a foot long and twist tied the ends together and then wrapped more branches around the circle.


I used a glue gun on the threaded wreaths to keep the top leaves from flopping over and the glue also doubled as a way to hang the wreath on the hook.


Happy Holidays!