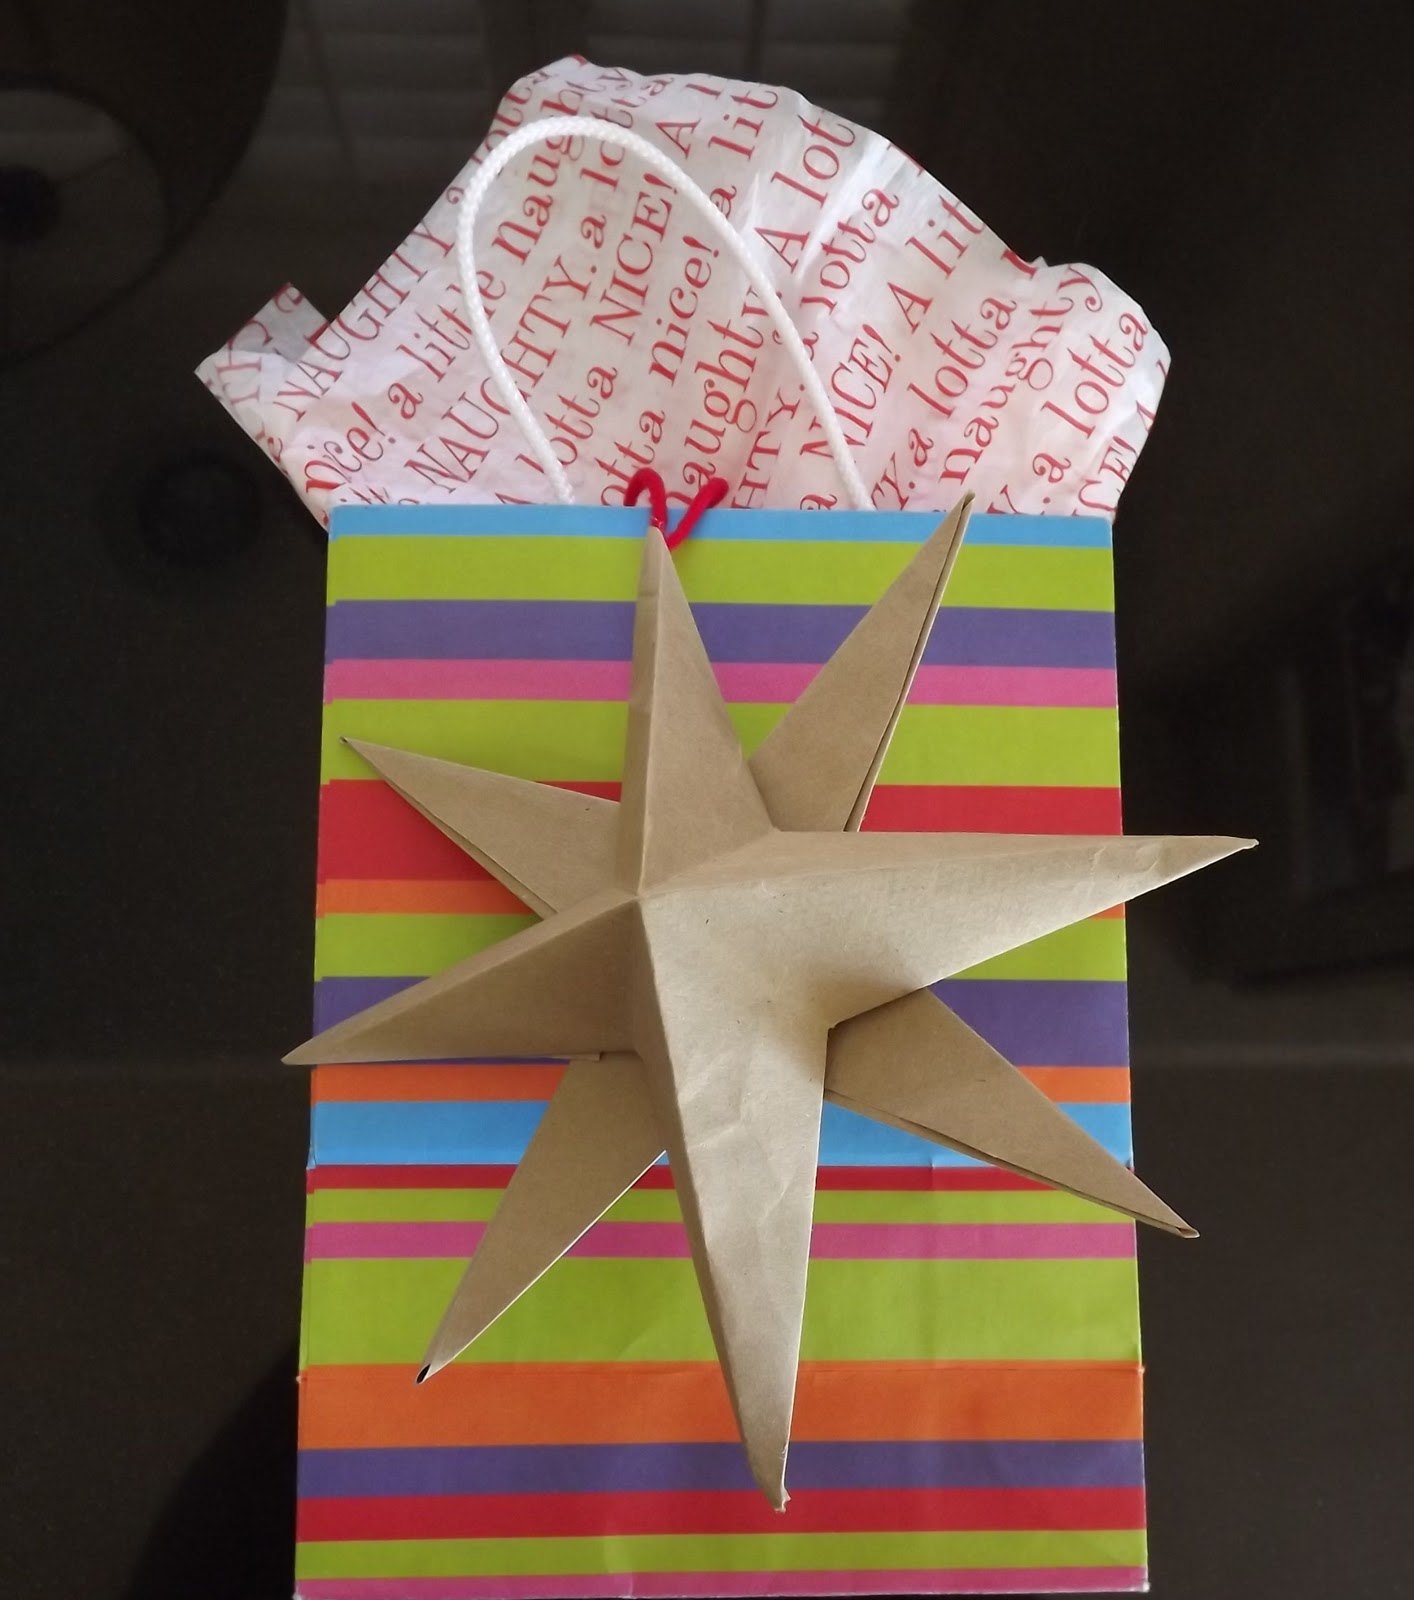
This is a really fun and easy craft with endless possibilities. Here's a few ideas and the steps to make this star. This one I made out of a paper grocery bag:
 |
| 2" square paper attached to a pin inserted into the cork. |
 |
| Attach to gifts. |
 |
| My 7 year old loved these and we hung them over his bottom bunk. |
 |
| String them together to make a garland. |
 I I |
| Tree ornament.... |
This seems like a lot of steps, but I tend to overdo instructions. This will be quick and painless, if you decide to give it a go.
Here I'm using a scrap piece of 8x10 paper. I folded it in half and the cut along the fold.
The paper for the star needs to be SQUARE. To get a square form a rectangle you just need to: 1. fold a triangle. 2. Cut off paper left under the fold. 3. There. A square!
You already folded a triangle in the step above, with your paper open fold a triangle using the other two corners. Open paper and fold up and in half. Open paper and fold to the side in half.
Your square should have creases like the ones above. Now, following the dotted lines from the picture on the left, cut along the creases
almost halfway to the center of the square. With the bad side of the paper facing up, fold the corners into points with the inside edges of the points lining up with the diagonal creases. They do not overlap.They meet.
The paper should still lie flat after all the corners are folded. Use a glue stick to add glue to the top of only one side of the point then place the other half of the point on top of the glue and press. It helps to have a finger inside the point.
Here is how it looks with all points glued. From the bottom and top. If you want to add ribbon or string them together, this is the time to add that. Place the string or ribbon into the point before you glue it closed.
Fix any of the creases so they are straight and then use a glue gun to glue the backs of the stars together. They barely touch each other in the back, so you might need a few big globs of glue to get them to stick. And....That's It!!! You're Finished! You Made It!!
Now you have a beautiful winter star. I think a patterned or striped paper would look really pretty. Or gold, silver, glitter, painted.........
The possibilities are endless! Have fun and Happy Winter!!


 I
I


